At the fabulous PowerShell Conference EU I presented about Continuous Delivery to the PowerShell Gallery with VSTS and explained how we use VSTS to enable CD for dbachecks. We even released a new version during the session 🙂
So how do we achieve this?
We have a few steps
- Create a project and link to our GitHub
- Run unit uests with Pester to make sure that our code is doing what we expect.
- Update our module version and commit the change to GitHub
- Sign our code with a code signing certificate
- Publish to the PowerShell Gallery
Create Project and link to GitHub
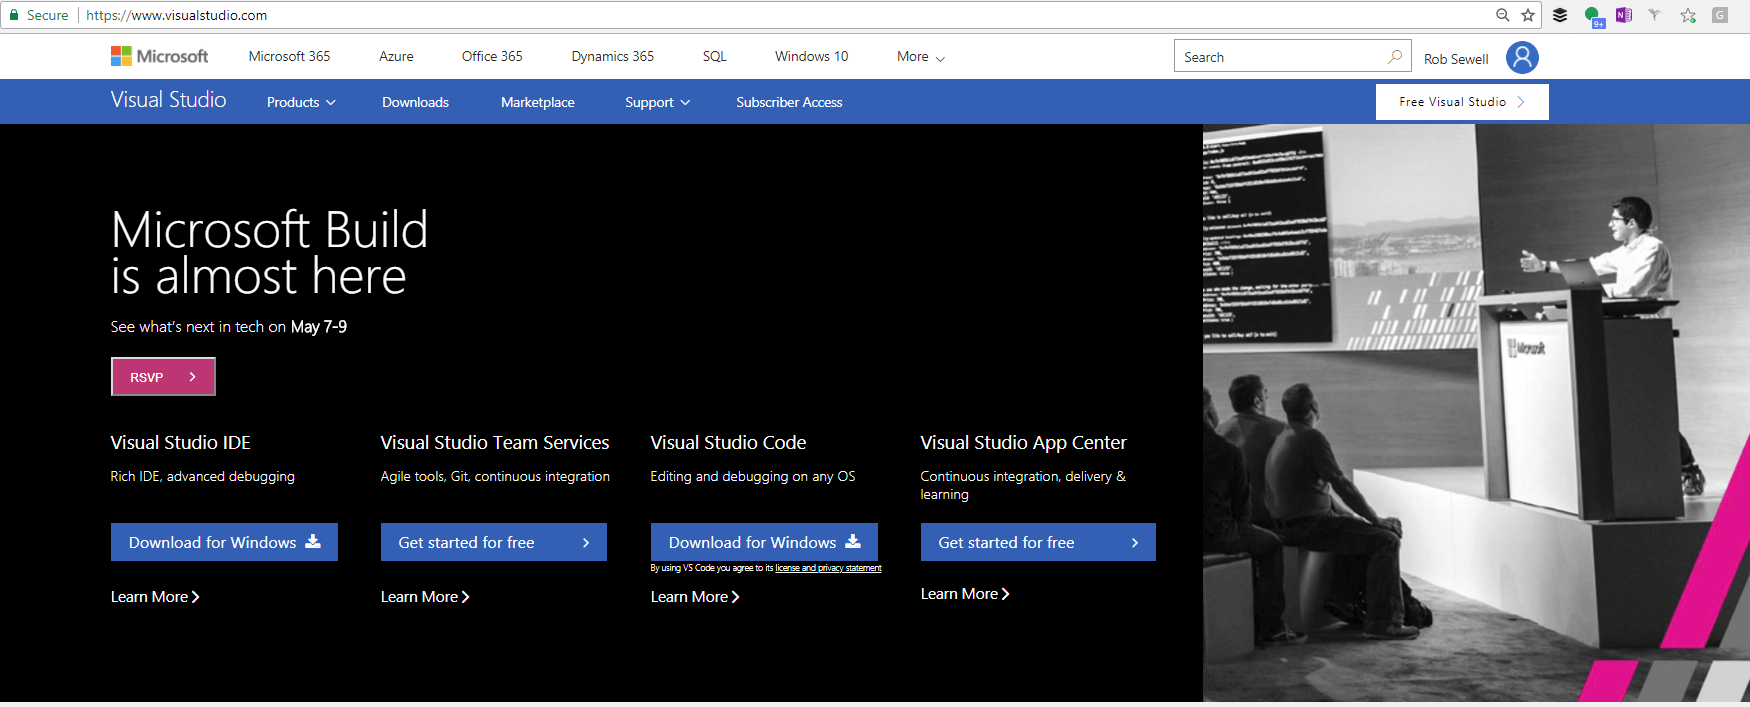
First you need to create a VSTS project by going to https://www.visualstudio.com/ This is free for up to 5 users with 1 concurrent CI/CD queue limited to a maximum of 60 minutes run time which should be more than enough for your PowerShell module.
Click on Get Started for free under Visual Studio Team Services and fill in the required information. Then on the front page click new project
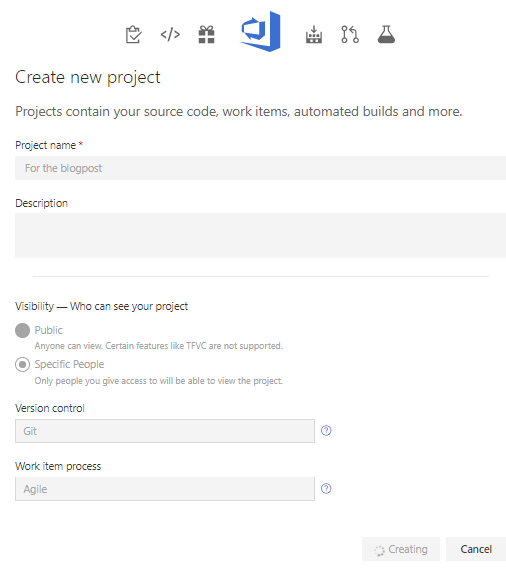
Fill in the details and click create
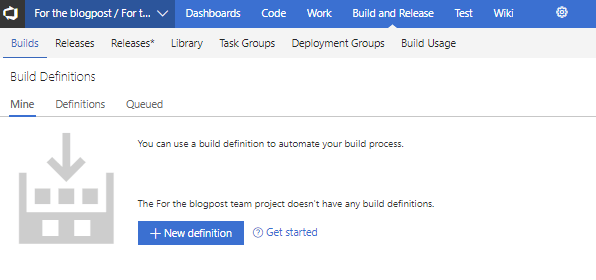
Click on builds and then new definition
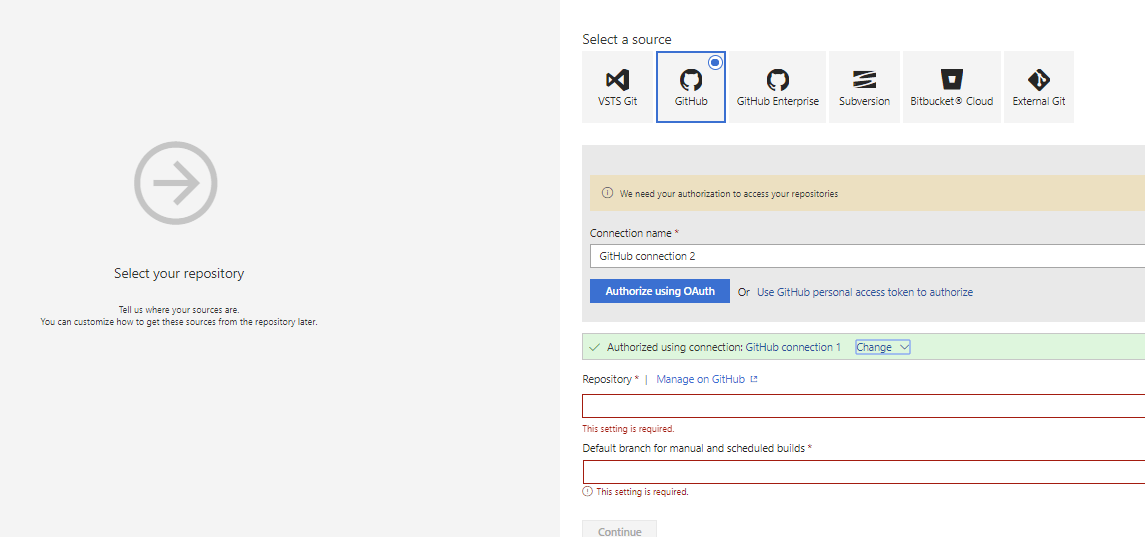
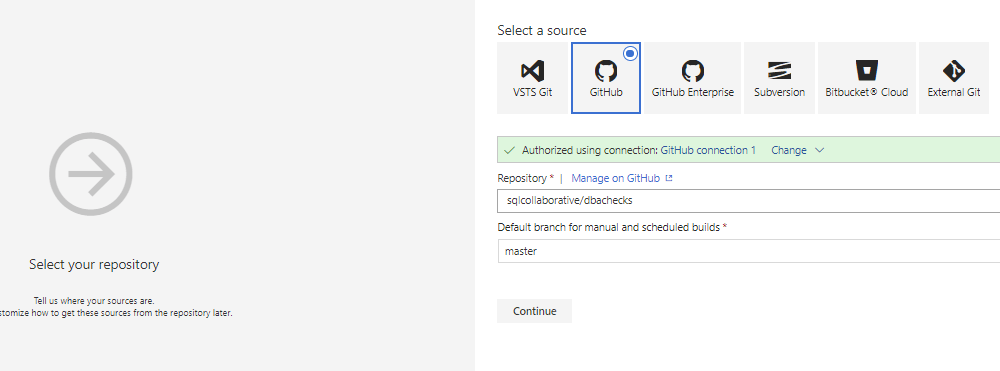
next you need to link your project to your GitHub (or other source control providers) repository
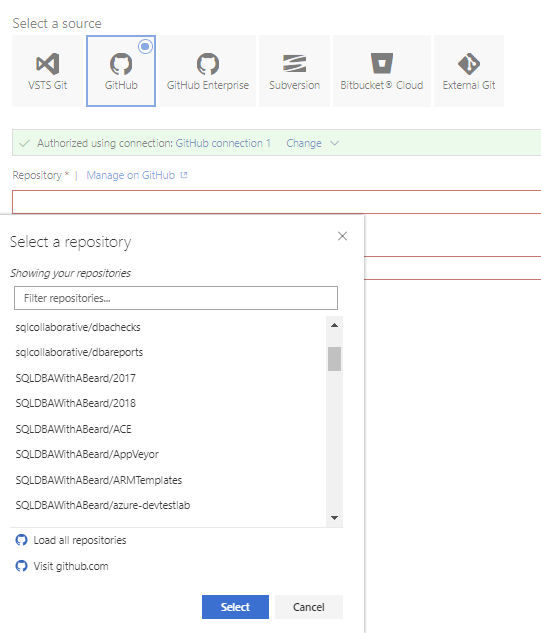
You can either authorise with OAuth or you can provide a PAT token following the instructions here. Once that is complete choose your repo. Save the PAT as you will need it later in the process!
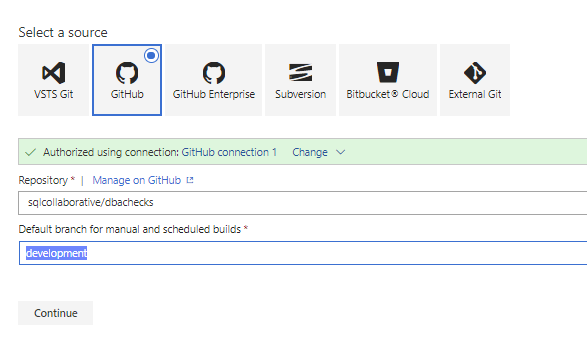
and choose the branch that you want this build definition to run against.
I chose to run the Unit Tests when a PR was merged into the development branch. I will then create another build definition for the master branch to sign the code and update module version. This enables us to push several PRs into the development branch and create a single release for the gallery.
Then I start with an empty process
and give it a suitable name
i chose the hosted queue but you can download an agent to your build server if you need to do more or your integration tests require access to other resources not available on the hosted agent.
Run Unit Tests with Pester
We have a number of Unit tests in our tests folder in dbachecks so we want to run them to ensure that everything is as it should be and the new code will not break existing functionality (and for dbachecks the format of the PowerBi)
You can use the Pester Test Runner Build Task from the folk at Black Marble by clicking on the + sign next to Phase 1 and searching for Pester
You will need to click Get It Free to install it and then click add to add the task to your build definition. You can pretty much leave it as default if you wish and Pester will run all of the *.Tests.ps1 files that it finds in the directory where it downloads the GitHub repo which is referred to using the variable $(Build.SourcesDirectory). It will then output the results to a json file called Test-Pester.XML ready for publishing.
However, as dbachecks has a number of dependent modules, this task was not suitable. I spoke with Chris Gardner b | t from Black Marble at the PowerShell Conference and he says that this can be resolved so look out for the update. Chris is a great guy and always willing to help, you can often find him in the PowerShell Slack channel answering questions and helping people
But as you can use PowerShell in VSTS tasks, this is not a problem although you need to write your PowerShell using try catch to make sure that your task fails when your PowerShell errors. This is the code I use to install the modules
$ErrorActionPreference = ‘Stop’
# Set location to module home path in artifacts directory try { Set-Location $(Build.SourcesDirectory) Get-ChildItem } catch { Write-Error “Failed to set location”
}
# Get the Module versions Install-Module Configuration -Scope CurrentUser -Force $Modules = Get-ManifestValue -Path .\dbachecks.psd1 -PropertyName RequiredModules
$PesterVersion = $Modules.Where{$.Get_Item(‘ModuleName’) -eq ‘Pester’}[0].Get_Item(‘ModuleVersion’) $PSFrameworkVersion = $Modules.Where{$.Get_Item(‘ModuleName’) -eq ‘PSFramework’}[0].Get_Item(‘ModuleVersion’) $dbatoolsVersion = $Modules.Where{$_.Get_Item(‘ModuleName’) -eq ‘dbatools’}[0].Get_Item(‘ModuleVersion’)
# Install Pester try { Write-Output “Installing Pester” Install-Module Pester -RequiredVersion $PesterVersion -Scope CurrentUser -Force -SkipPublisherCheck Write-Output “Installed Pester”
} catch { Write-Error “Failed to Install Pester $($_)” } # Install dbatools try { Write-Output “Installing PSFramework” Install-Module PSFramework -RequiredVersion $PsFrameworkVersion -Scope CurrentUser -Force Write-Output “Installed PSFramework”
} catch { Write-Error “Failed to Install PSFramework $($_)” } # Install dbachecks try { Write-Output “Installing dbatools” Install-Module dbatools -RequiredVersion $dbatoolsVersion -Scope CurrentUser -Force Write-Output “Installed dbatools”
} catch { Write-Error “Failed to Install dbatools $($_)” }
# Add current folder to PSModulePath try { Write-Output “Adding local folder to PSModulePath” $ENV:PSModulePath = $ENV:PSModulePath + “;$pwd” Write-Output “Added local folder to PSModulePath” $ENV:PSModulePath.Split(’;’) } catch { Write-Error “Failed to add $pwd to PSModulePAth - $_” }
I use the Configuration module from Joel Bennett to get the required module versions for the required modules and then add the path to $ENV:PSModulePath so that the modules will be imported. I think this is because the modules did not import correctly without it.
Once I have the modules I can then run Pester as follows
try { Write-Output “Installing dbachecks” Import-Module .\dbachecks.psd1 Write-Output “Installed dbachecks”
} catch { Write-Error “Failed to Install dbachecks $($_)” } $TestResults = Invoke-Pester .\tests -ExcludeTag Integration,IntegrationTests -Show None -OutputFile $(Build.SourcesDirectory)\Test-Pester.XML -OutputFormat NUnitXml -PassThru
if ($TestResults.failedCount -ne 0) { Write-Error “Pester returned errors” }
As you can see I import the dbachecks module from the local folder, run Invoke-Pester and output the results to an XML file and check that there are no failing tests.
Whether you use the task or PowerShell the next step is to Publish the test results so that they are displayed in the build results in VSTS.
Click on the + sign next to Phase 1 and search for Publish
Choose the Publish Test Results task and leave everything as default unless you have renamed the xml file. This means that on the summary page you will see some test results
and on the tests tab you can see more detailed information and drill down into the tests
Trigger
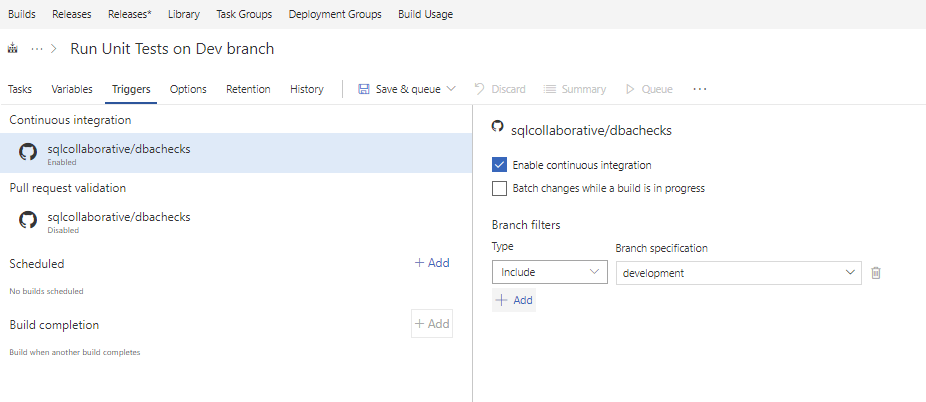
The next step is to trigger a build when a commit is pushed to the development branch. Click on Triggers and tick enable continuous integration
Saving the Build Definition
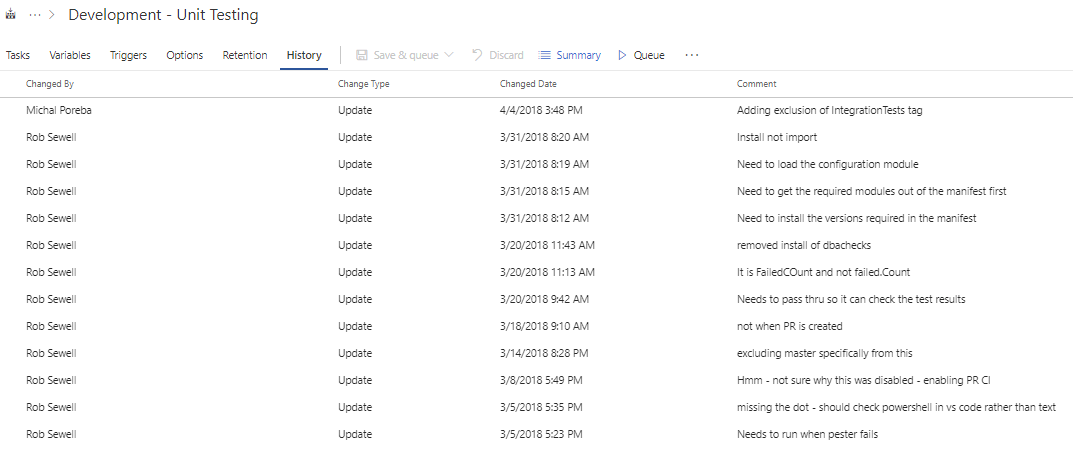
I would normally save the build definition regularly and ensure that there is a good message in the comment. I always tell clients that this is like a commit message for your build process so that you can see the history of the changes for the build definition.
You can see the history on the edit tab of the build definition
If you want to compare or revert the build definition this can be done using the hamburger menu as shown below.
Update the Module Version
Now we need to create a build definition for the master branch to update the module version and sign the code ready for publishing to the PowerShell Gallery when we commit or merge to master
Create a new build definition as above but this time choose the master branch
Again choose an empty process and name it sensibly, click the + sign next to Phase 1 and search for PowerShell
I change the version to 2 and use this code. Note that the commit message has ***NO_CI*** in it. Putting this in a commit message tells VSTS not to trigger a build for this commit.
$manifest = Import-PowerShellDataFile .\dbachecks.psd1 [version]$version = $Manifest.ModuleVersion Write-Output “Old Version - $Version” # Add one to the build of the version number [version]$NewVersion = “{0}.{1}.{2}” -f $Version.Major, $Version.Minor, ($Version.Build + 1) Write-Output “New Version - $NewVersion” # Update the manifest file try { Write-Output “Updating the Module Version to $NewVersion” $path = “$pwd\dbachecks.psd1” (Get-Content .\dbachecks.psd1) -replace $version, $NewVersion | Set-Content .\dbachecks.psd1 -Encoding string Write-Output “Updated the Module Version to $NewVersion” } catch { Write-Error “Failed to update the Module Version - $_” }
try { Write-Output “Updating GitHub” git config user.email “mrrobsewell@outlook.com” git config user.name “SQLDBAWithABeard” git add .\dbachecks.psd1 git commit -m “Updated Version Number to $NewVersion ***NO_CI***”
git push https://$(RobsGitHubPAT)@github.com/dataplat/dbachecks.git HEAD:master Write-Output “Updated GitHub "
} catch { $_ | Fl -Force Write-Output “Failed to update GitHub” }
I use Get-Content Set-Content as I had errors with the Update-ModuleManifest but Adam Murray g | t uses this code to update the version using the BuildID from VSTS
$newVersion = New-Object version -ArgumentList 1, 0, 0, $env:BUILD_BUILDID $Public = @(Get-ChildItem -Path $ModulePath\Public\*.ps1) $Functions = $public.basename Update-ModuleManifest -Path $ModulePath\$ModuleName.psd1 -ModuleVersion $newVersion -FunctionsToExport $Functions
You can commit your change by adding your PAT token as a variable under the variables tab. Don’t forget to tick the padlock to make it a secret so it is not displayed in the logs
Sign the code with a certificate
The SQL Collaborative uses a code signing certificate from DigiCert who allow MVPs to use one for free to sign their code for open source projects, Thank You. We had to upload the certificate to the secure files store in the VSTS library. Click on library, secure files and the blue +Secure File button
You also need to add the password as a variable under the variables tab as above. Again don’t forget to tick the padlock to make it a secret so it is not displayed in the logs
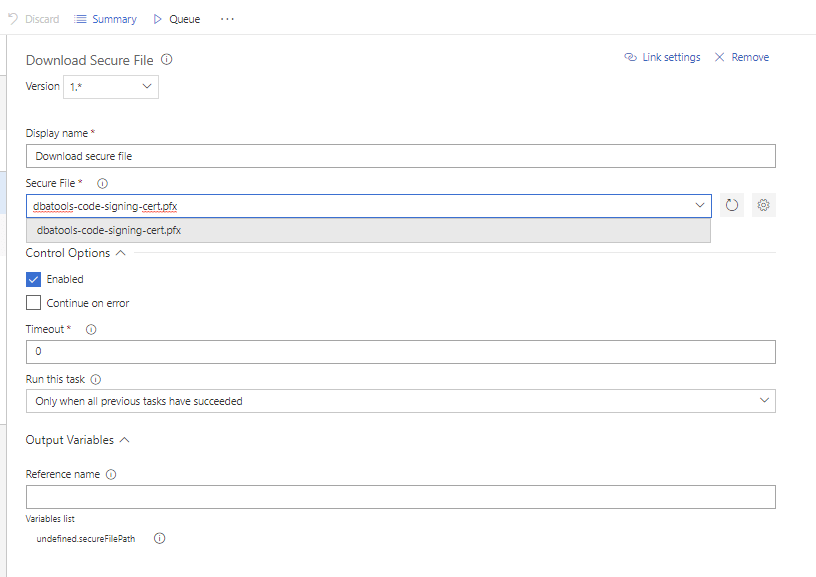
Then you need to add a task to download the secure file. Click on the + sign next to Phase 1 and search for secure
choose the file from the drop down
Next we need to import the certificate and sign the code. I use a PowerShell task for this with the following code
$ErrorActionPreference = ‘Stop’ # read in the certificate from a pre-existing PFX file # I have checked this with @IISResetMe and this does not go in the store only memory $cert = [System.Security.Cryptography.X509Certificates.X509Certificate2]::new("$(Agent.WorkFolder)\_temp\dbatools-code-signing-cert.pfx”,"$(CertPassword)")
try { Write-Output “Signing Files” # find all scripts in your module… Get-ChildItem -Filter *.ps1 -Include *.ps1 -Recurse -ErrorAction SilentlyContinue | # …that do not have a signature yet… Where-Object { ($_ | Get-AuthenticodeSignature).Status -eq ‘NotSigned’ } | # and apply one # (note that we added -WhatIf so no signing occurs. Remove this only if you # really want to add digital signatures!) Set-AuthenticodeSignature -Certificate $cert Write-Output “Signed Files” } catch { $_ | Format-List -Force Write-Error “Failed to sign scripts” }
which will import the certificate into memory and sign all of the scripts in the module folder.
Publish your artifact
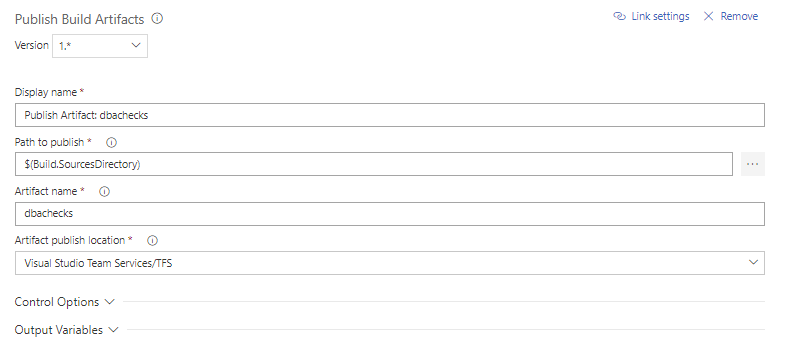
The last step of the master branch build publishes the artifact (your signed module) to VSTS ready for the release task. Again, click the + sign next to Phase one and choose the Publish Artifact task not the deprecated copy and publish artifact task and give the artifact a useful name
Don’t forget to set the trigger for the master build as well following the same steps as the development build above
Publish to the PowerShell Gallery
Next we create a release to trigger when there is an artifact ready and publish to the PowerShell Gallery.
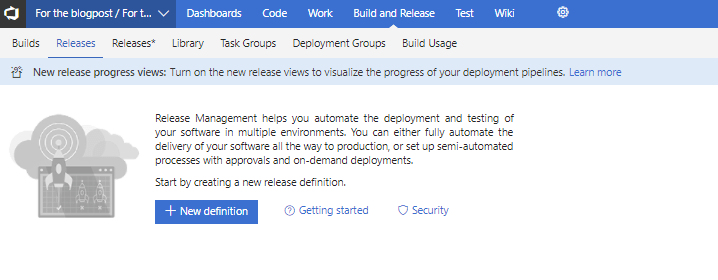
Click the Releases tab and New Definition
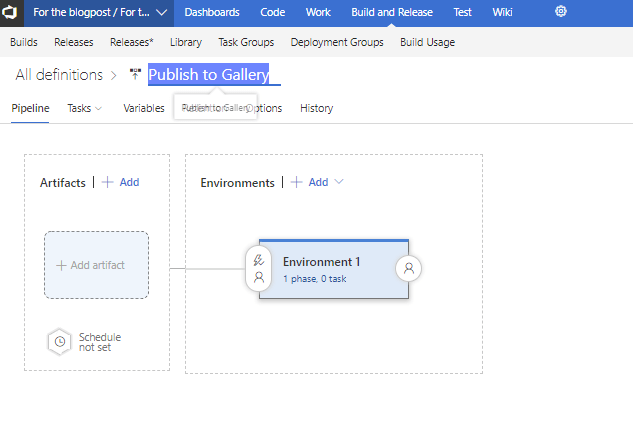
Choose an empty process and name the release definition appropriately
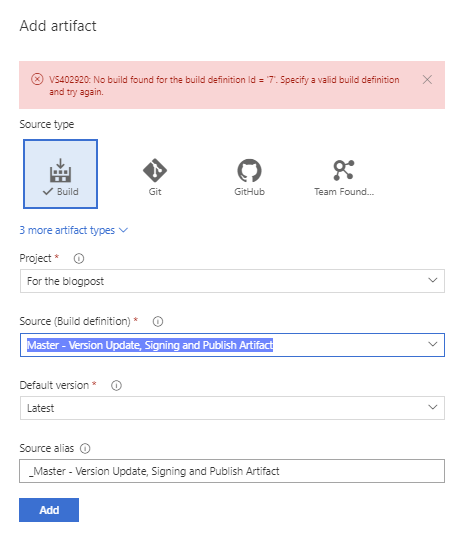
Now click on the artifact and choose the master build definition. If you have not run a build you will get an error like below but dont worry click add.
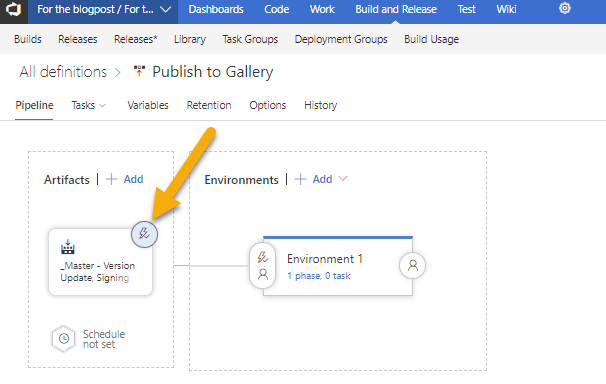
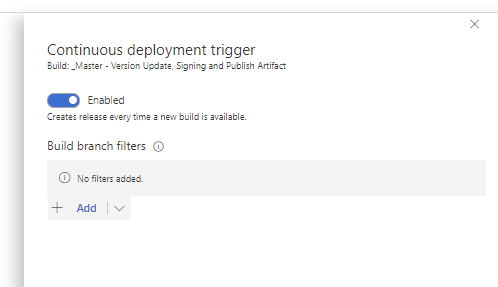
Click on the lightning bolt next to the artifact to open the continuous deployment trigger
and turn on Continuous Deployment so that when an artifact has been created with an updated module version and signed code it is published to the gallery
Next, click on the environment and name it appropriately and then click on the + sign next to Agent Phase and choose a PowerShell step
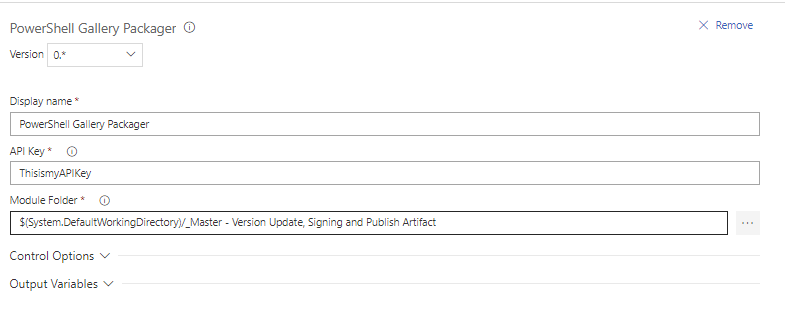
You may wonder why I dont choose the PowerShell Gallery Packager task. There are two reasons. First I need to install the required modules for dbachecks (dbatools, PSFramework, Pester) prior to publishing and second it appears that the API Key is stored in plain text
I save my API key for the PowerShell Gallery as a variable again making sure to tick the padlock to make it a secret
and then use the following code to install the required modules and publish the module to the gallery
Install-Module dbatools -Scope CurrentUser -Force Install-Module Pester -Scope CurrentUser -SkipPublisherCheck -Force Install-Module PSFramework -Scope CurrentUser -Force
Publish-Module -Path “$(System.DefaultWorkingDirectory)/Master - Version Update, Signing and Publish Artifact/dbachecks” -NuGetApiKey “$(GalleryApiKey)”
Thats it 🙂
Now we have a process that will automatically run our Pester tests when we commit or merge to the development branch and then update our module version number and sign our code and publish to the PowerShell Gallery when we commit or merge to the master branch
Added Extra – Dashboard
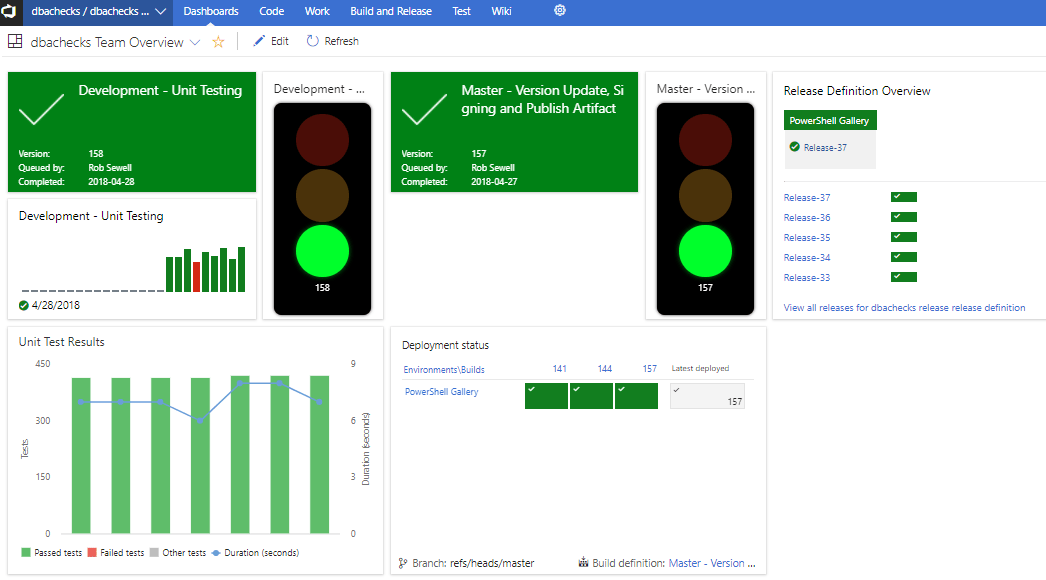
I like to create dashboards in VSTS to show the progress of the various definitions. You can do this under the dashboard tab. Click edit and choose or search for widgets and add them to the dashboard
Added Extra – Badges
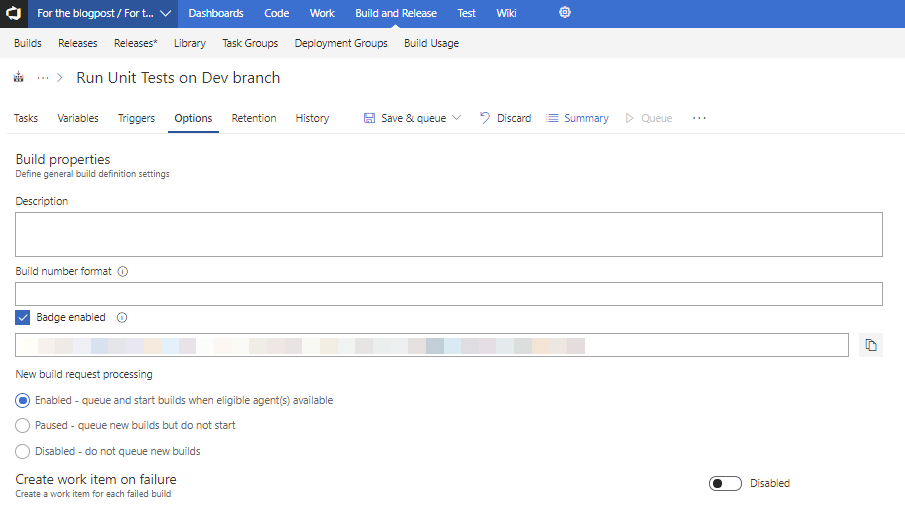
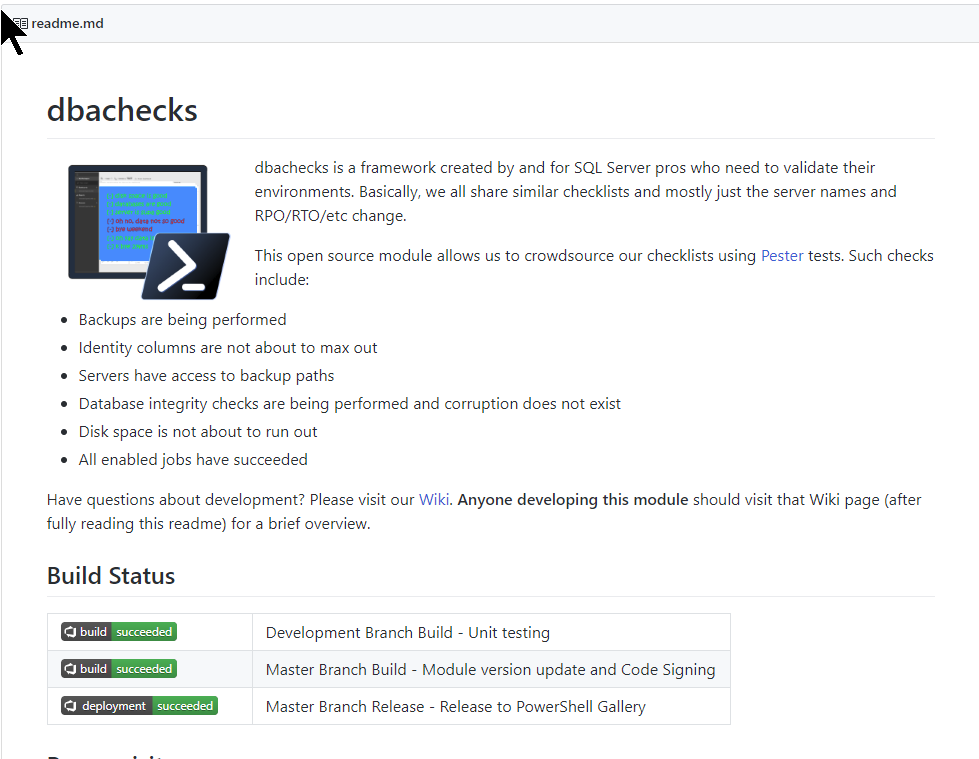
You can also enable badges for displaying on your readme in GitHub (or VSTS). For the build defintions this is under the options tab.
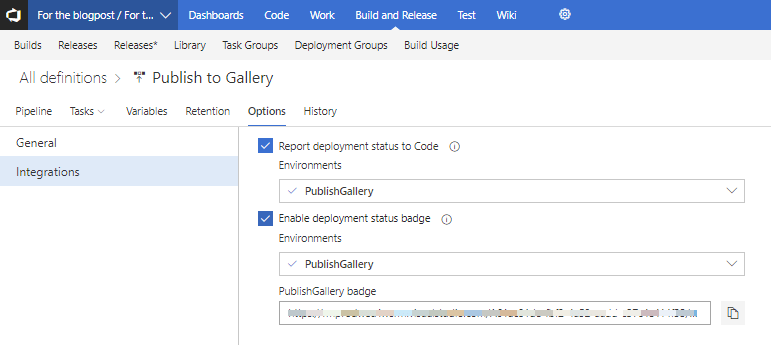
for the release definitions, click the environment and then options and integrations
You can then copy the URL and use it in your readme like this on dbachecks
The SQL Collaborative has joined the preview of enabling public access to VSTS projects as detailed in this blog post So you can see the dbachecks build and release without the need to log in and soon the dbatools process as well
I hope you found this useful and if you have any questions or comments please feel free to contact me
Happy Automating!
